Sunday 31 August 2014

The Moments

My entry for week 2. Something sparkly, something floral and something multidimensional. 
3 of my favourite things.

Materials
Kaisercraft Confetti Paper collection
Doily
Butterfly Sequins
Kindy Glitz
Perfect Pearls Spray

Happy Fathers Day

Materials
Kaisercraft Garage Days Papers
Silver tape
Alcohol Inks
lolly Stick
Ranger Distress inks
Embossing Folder


Happy Crafting Sue Jameson

Happy Birthday

Materials
Kaisercraft Be-you-tiful paper collection
Lindys Starburts Sprays: Golden Sleigh Bells, My Mojito grenns


Believe

Materials
Lindys Candy Cone Red Gold Embossing Powder
Kaisercraft Stamp and flowers
Lindys Starburst Salt water Taffy, Delphinium Turquoise
Ranger Ink Picked raspberry, Peacock feather
Vintage button and pearls

Happy Crafting Sue Jameson

Friday 29 August 2014


You Bring My Heart Joy

The Background was sprayed with Lindys Starburst onto watercolour paper. I then took the sprayer out of the bottle and  flicked the ends to create larger splats.

I then stamped usina a prima Stamp and embossed with Lindys embossing powder

The hexagons cut out of Teresa Collins Sweet Afternoons paper were inked with ranger Antique Linen


I then added a Prima corner embellishment to the photo, a small bird and some hearts from my stash and a sticker from the Teresa Collins paper collection

Happy Crafting
Sue Jameson


Love

Using Teresa Collins Sweet Afternoon papers.
Using Lindys Starburst Sprays 
I sprayed diagonally across page then took the sprayer top from the bottle and splattered the bottom end to get larger splats.

The coloured Hessian was painted with multi-medium to stop it fraying and then cut out into flowers with  a Tim Holtz dies. 
The Prima Love was pained with Lindys magical 


I added a kaisercraft pearl flourish and some flowers from a flower string cut up into original flowers.

Happy Crafting
Sue Jameson


Thursday 28 August 2014

Chase Your Dreams


The paper I used for this layout was from the Kaisercraft Be-you-tiful collection
The background page was sprayed with Lindys Starburst Turbine Teal to give it a bit of interest and dimension. I cut strips of varying widths for under the photo mount and fussy cut the flowers. In the top right corner is a flower corner embellishment that was made using easy cast resin and then coloured with Copic Alcohol Markers. I inked all my edges with Ranger distress ink Brushed Corduroy. It is a great colour that goes with many paper colours.

Happy Crafting Sue Jameson


Monday 25 August 2014

Paint Ball Fun


Kaisercraft Mr Fox paper. Black Gelato mixed with water to create paint splotches. 
Create your own backgrounds with paint and sprays.


Happy Crafting Kathy Oates

Sunday 10 August 2014

Childrens Holiday Card Class


As Fathers Day was coming up and I get quite a few boys in my classes I designed something for the men this time.

As men like something mechanical we made a waterfall card. (I call it a flip card)

I always love a shaker card so I raided my husbands workshop and pinched some of his tiny nails. We also made a cog from shrink plastic and a Tim Holtz die. A bit of a wow factor watching the plastic shrink.
 The hammer and chisel were cut out on the cricut and the top was embossed with a wood grain embossing folder.


The next card was an easel card. We cut out the embellishments on the cricut and used a pretty post-it pad on top of the card so it was useful as well as fun.

Happy Crafting Kids
Sue Jameson


Saturday 9 August 2014

Children's Holiday Craft Class.


I love teaching children craft. They are always so much fun. Here are the things we did in the School Holidays.
Prima Doll Stamps on a Prima tag. I find these so much fun to do. Had to change it up a bit for the boys though. Glad Prima have finally brought out a boy stamp.


We had some fun little head stickers so I cut some suitable bodies out on the cricut and made a funny card.


 Our Layout. We looked at how to make the rosette with the Tim Holtz die. So much fun and so effective. It always looks so cool and is not that hard to do with the die. Of course I had to do a couple of different ways of using the rosette. In one layout I have used it as an award and in the other it makes a flower. We make our layouts A4 because it is easier for the children and the folders to keep them in are very affordable.

Happy Crafting Kids
Sue Jameson


Friday 1 August 2014

Lindy's Stamp Gang Layout

I used canvas as a base for this layout. Whipped Spackle and a stencil was used for the white texture.
I then sprayed the canvas with Lindy's Stamp Gang sprays. The colours of these sprays are fantastic and they have a lovely sparkly  sheen to them. I traced the hexagons with a watercolour pencil and blended them with a water brush. Then I used a white gelato to add highlights to the hexagons.

I made a butterfly from a chipboard butterfly. Painted it white then added crackle paste. When the crackle paste was dry I coloured with markers. I added prima flowers and a fairy cut out of prima paper.
The birdcage was sprayed with gold paint. I then added a beautiful prima flower and metal peacock


Monday 28 July 2014

Fly Be Free

I have made the background on a heavy duty watercolour paper using Azure Sea Asters, Golden Sleigh Bells and My Mojito Green and blending the colours. I then used Whipped Spackle through a stencil to create the texture. The butterfly was made using the whipped Spackle through a stencil and then colouring with the Peony Scarlet Red and Golden Sleigh Bells. I then added some vintage lace, plastic flower lace, pearl embellishments and sentiment.

Happy Crafting
Sue Jameson


Congratulations


With this card The flowers were coloured with Azure Sea Asters.
the leaves were coloured with  Golden Sleigh Bells and My Mojito Green
The Background was coloured with Azure Sea Asters, Golden Sleigh Bells and My Mojito Green and blending the colours.
I then added texture paste to the background through a stencil.
I added a doily and a frame sprayed with gold paint, the flowers and leaves then the sentiment


Happy Crafting
Sue Jameson


Sunday 27 July 2014

Lindy's Stamp Gang Colour Challenge
Window Box

Using Lindy's Two Toned Starburst Sprays

The window and window box was cut out using a die. The curtains are make using Peony Scarlet Red and Golden Sleigh Bells with a small resin flower. The background was make using My Mojiti Green, Golden Sleigh Bells and Azure Sea Asters then texture paste through a stencil. The flowers were some mini blooms from my stash.
Get Crafting
Sue Jameson

Lindy's Stamp Gang July Colour Challenge

Love U 

I first discovered Lindy's Sprays a few months ago and absolutely loved them.
With this layout I have made the background on a heavy duty watercolour paper using Azure Sea Asters, Golden Sleigh Bells and My Mojito Green and blending the colours. I then used Whipped Spackle through a stencil and embossed using the Morning Glory Azure embossing powder.
The butterflies were made using the same stencil and spraying with the Peony Scarlet Red and Golden Sleigh Bells. I coloured the flowers with the Azure Sea Asters and added yellow seed beads to the centre. The leaves were made from the kitchen towel I used to clean my mat and cut out using die. I didn't want to waste any of the lovely colour.


Making your own flowers. 


From my previous post I made flowers with the wet wipes used to clean up my painting mess. I used some of these flowers in this layout. I know it is not acid free but they were to beautiful to waste. I am sure my children will not be too upset  if these layouts don't last for 100 years as there are plenty that will.


The birdcage was sprayed with gold paint. The brad centres were coloured with alcohol pens. Texture was added to the background with thick embossing powder. The fence was cut out using a die and the bird was from a sticker set.  Have fun crafting.
Sue Jameson

More multi coloured flowers made from wet wipes used to clean my painting mess.


Saturday 26 July 2014

Post-it Note Holder


I made a #Kaisercraft note holder for my sister who loves cats. Using a small cat punch I cut the cats out in black, reversing some to get them facing each other. The chipboard base was painted in green the covered with paper. I only paint the edges that you see as most ends up covered with paper. The lamp was cut out on my cricut. A simple easy gift for someone and useful too.  
Sue Jameson


Thursday 24 July 2014

Beautiful Baby Layout


Celebrating the birth of a beautiful baby and new member of our family.
I designed a simple layout that says what I want to say and celebrates the photos.
He is "Our Treasure".
Sue Jameson

Saturday 19 July 2014

Cake Cards


Everyone likes cake, so I have made some cake cards. Easy to do and cheap to make as it only uses scraps.

Birthday Cake
Just some strips of paper. I used a punch for decorative border on bottom layer, added some embellishments and hand drawn stitching for legs and cake.


Wedding Cake
This time I cut out the cake tray lets out of silver paper on the cricut. It was part of a flourish.

Christmas Cake
More legs cut from the cricut, just a different flourish.


This is my card baking for the day. Enjoy. Sue Jameson


Friday 18 July 2014

Window Cards


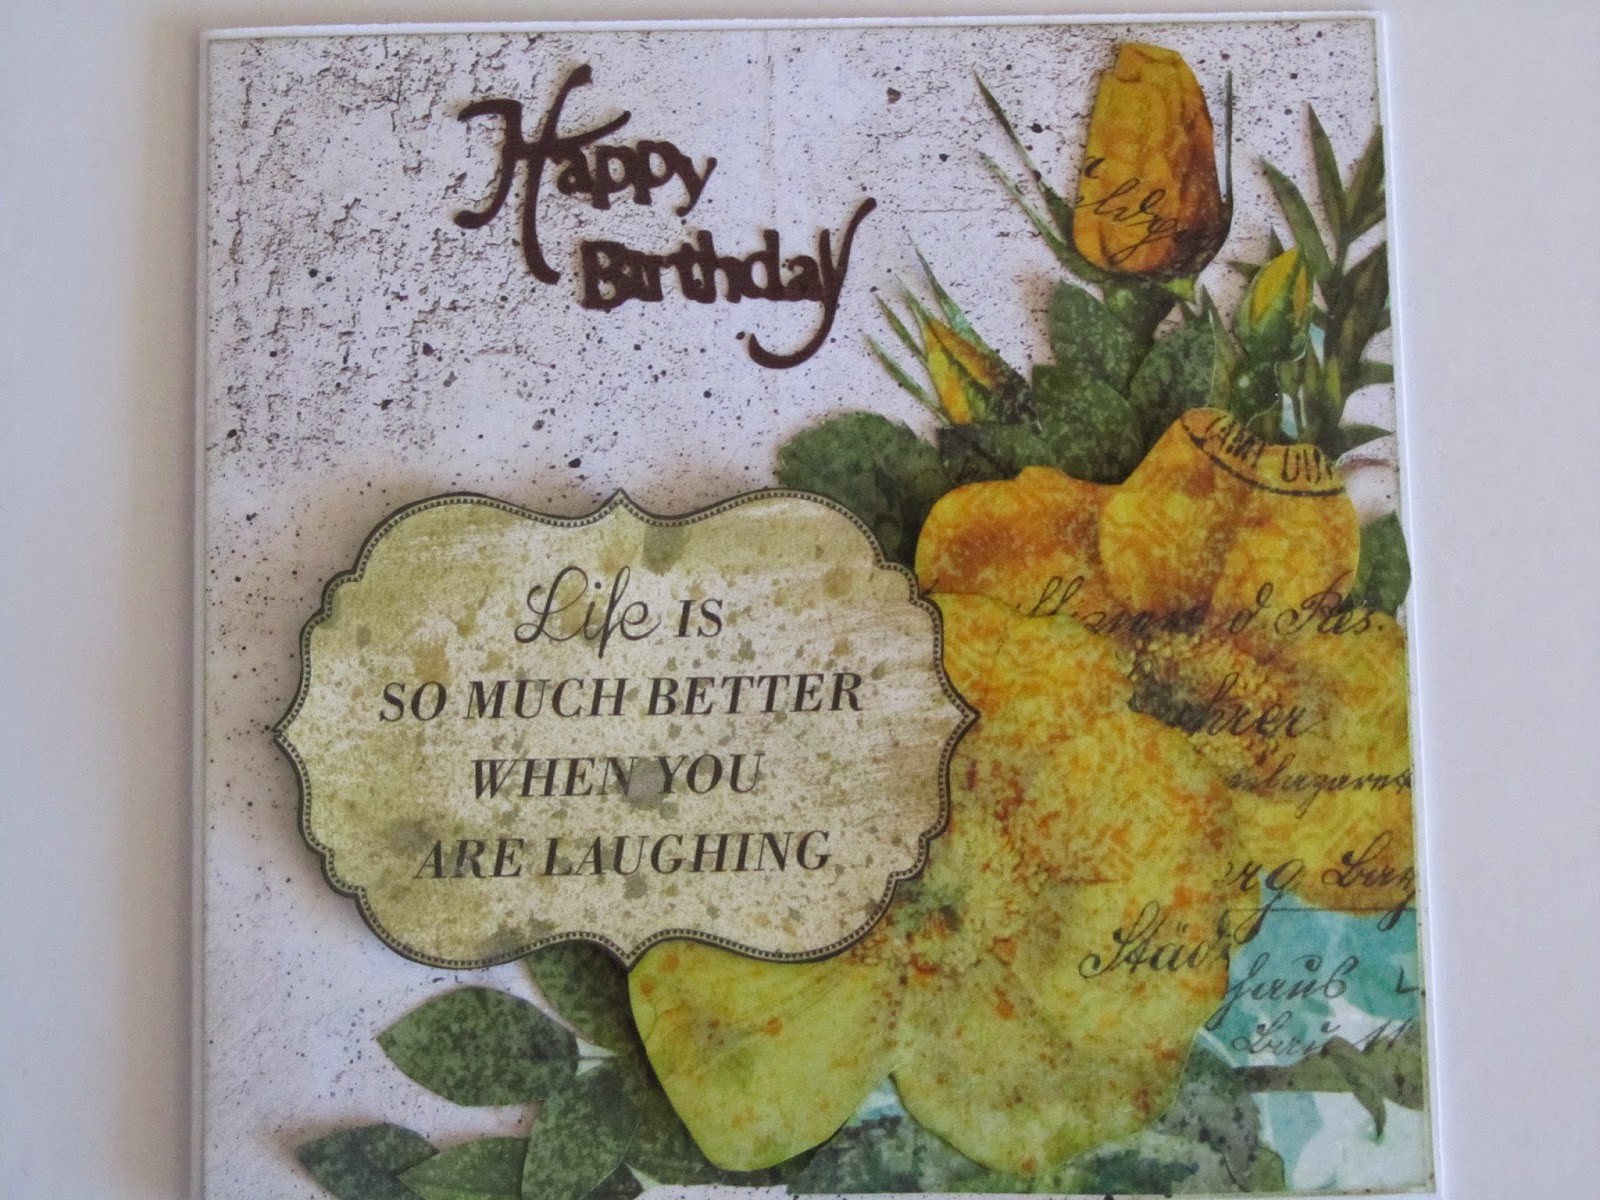
I love this die that creates a beautiful window, window box and shutters. These are three of the cards I have created with this die.

This card has the pretty window box with mini flowers I cut out with a punch.I find the punches really handy for making your own flowers. The house was made from wallpaper.It gave a nice textured look.


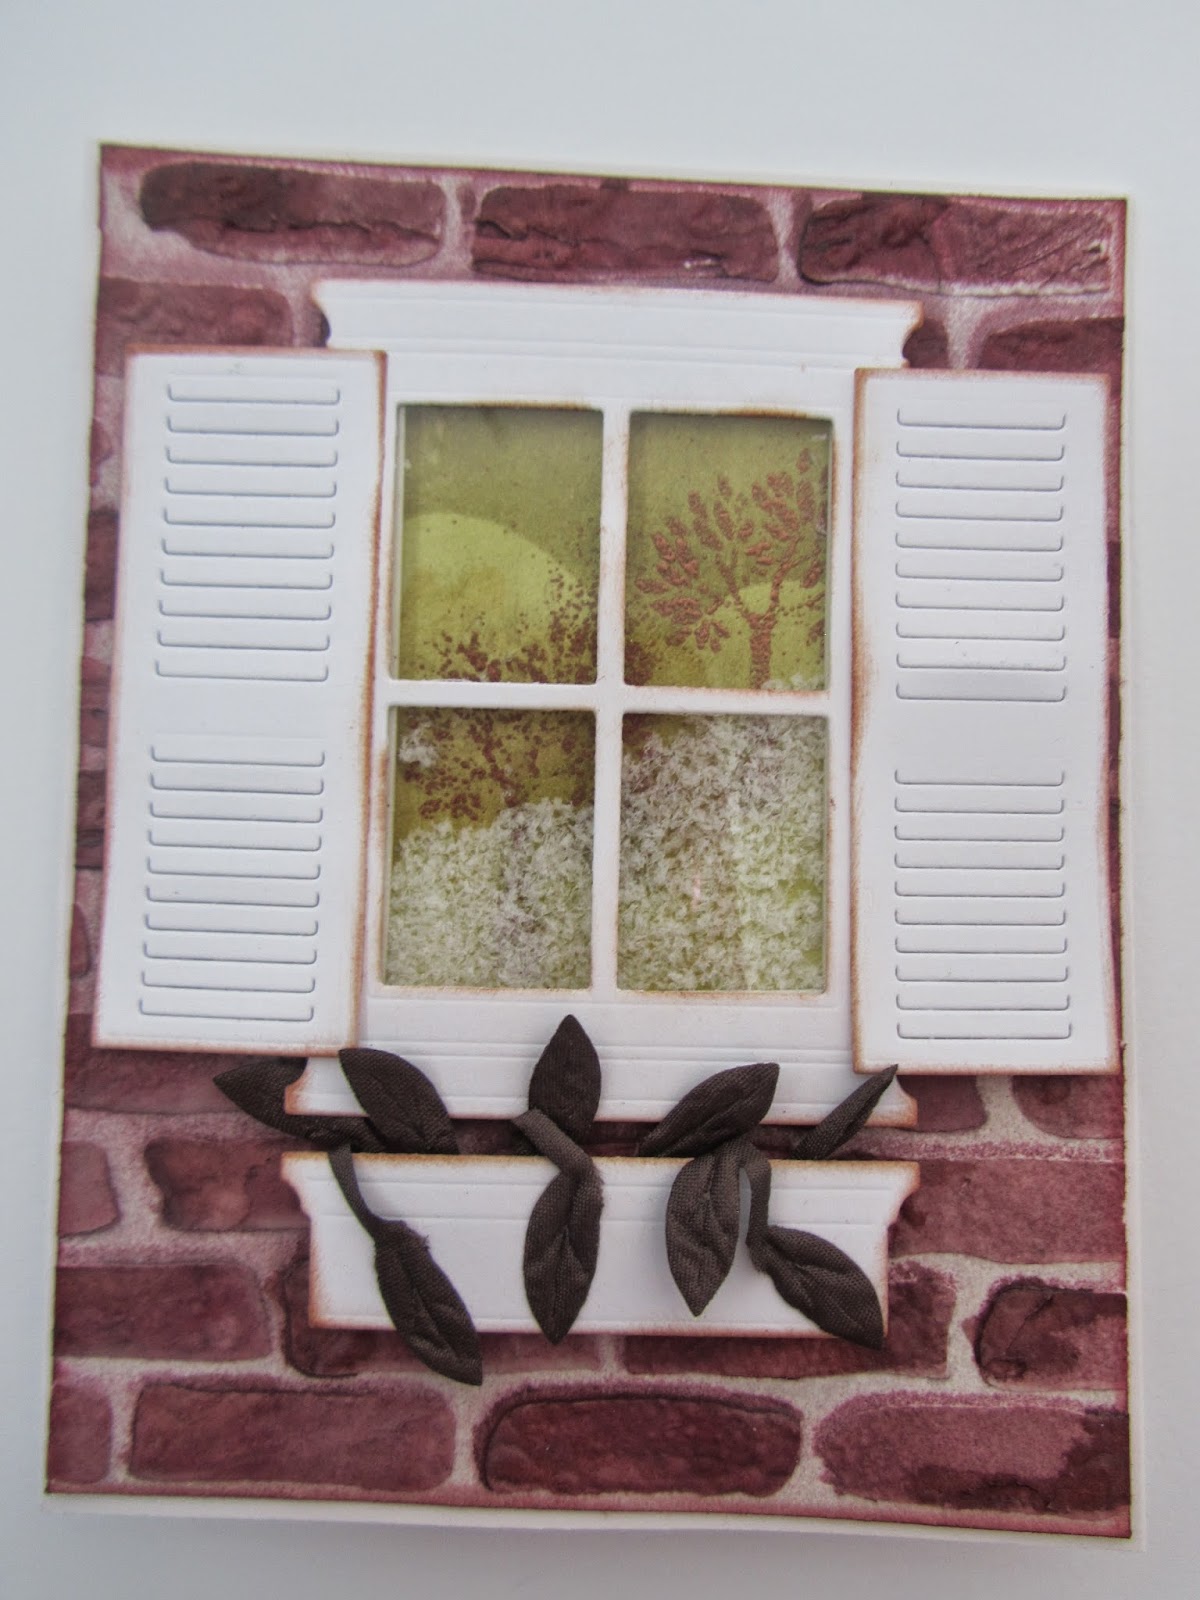
With this card I used my brick stencil with texture paste and sprays. It was a winter scene so behind the window is a shaker box with snow. 


This card also uses the brick stencil but I used ink instead of the sprays. I wanted a run down house so distressed the window and shutters. It also uesd the fence die instead of the window box. I wound the flowers around the fence to make it look like an overgrown (but pretty) garden.

Sue Jameson. Hope you get some inspiration from my ideas.

Saturday 12 July 2014

Mixed Media


The trial I made before I had to take a class of children and make a canvas that would be sold to real people to raise real money for the school. No pressure. Never before had I painted a canvas but with the inspiration of Donna Downey and the class at CAD 2013 I was will to give it a go.


The children were amazing and I had a great time with them. 
The canvas was sold at the school auction, thankfully. 


Thanks to CAD and Donna Downey for the inspiration. You may be pleased to know the work you do reaches far and wide to help people you don't even know.
Looking forward to my next canvas!


Tuesday 8 July 2014

Using your rubbish!


After playing with mixed media I thought the wet wipes I used to clean up were to pretty to throw away so they became flowers.I dried the then cut out with a Tim Holtz flower die.


I had lots of different colours and made lots of flowers.


With some of the flowers I made tags and cards on a mixed media painted background. 
It was great fun to do and I made some beautiful flowers out of what would have been rubbish.
Hope you like it
Sue


Sunday 6 July 2014

Hello fellow crafters. With todays layout I have used some waste that was left over after making some cards. The waste is the dark brown framing around each square. I thought it would be a cool way of defining each section of the layout. I then just chose photos to go in some of the squares with embellishments in the others. I used prima flowers, doilies, buttons, a chipboard flourish and a lamp-post cut out on the cricut. The paper was just some stuff I had in my stash!
Hope you like it. Sue